Monday, December 1, 2008

Important Shortcut Keys

b- brush
e -eraser
w -magic wand
g - paint bucket
l -lasso
[- smaller brush size
] - bigger brush size
Ctrl - = zoom out
Ctrl + = zoom in
Ctrl z- undo
h- hand tool

Step 1


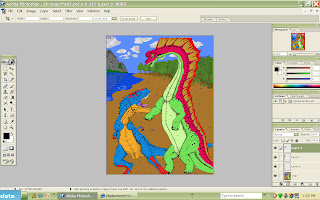
The first step is to draw out your digital painting. After you are finished drawing it scan it into your computer and open it in photoshop.


Step 2


After you have it scanned in you can start painting in the basic background. It helps to duplicate your drawing layer and place it over your background with a low opacity so you can see where you are painting.

Step 3


Now you can add new layers for the clouds and trees and paint them over the basic background.


Step 4


Add new layers and begin painting the basics for the foreground.


Step 5


Add another layer on top of the others for outlining and detailing.


Step 6


I added a grain filter to the land to make it look more sand like.


Step 7


Then go I went back to the clouds and used the cloud rendering filter to fill in my clouds.


Step 8


After that I went in with my brush and added shading to my picture with the brush set to multiple.


Step 9


Then for the water I added a new layer on top and copied the mountain and clouds and pasted them upside down to make the reflection. After that I motioned blurred the mountain to appear watery. Then I selected the water and applied Gaussian blur and emboss filters to it. Then you edit transform it and stretch out its perspective. Then you put a white to black gradient on it. Then finally you change the colors until you get it right.